Draw a Box Transparent in Google Docs
A text box is a keen and effective way to organize your thoughts visually, or differentiate a ready of text on a page. Text boxes can besides brand your document look more formal and professional, peculiarly if you're sharing the document with colleagues.
Google doesn't make calculation text boxes in Google Docs equally obvious to practice as with other give-and-take processing programs. Fortunately, there are a few simple methods you can utilize to insert a text box in Google Docs. Text boxes allow you to add text or images inside of them and then move those boxes around, between, or within documents.
How To Insert a Text Box In Google Docs
At that place are at least two ways to add together a text box in Google Docs. The master methods are using the drawing tool and using a single cell table, but each method offers different layout and formatting capabilities.
Insert a Text Box In Google Docs Using The Cartoon Tool
The cartoon tool isn't the well-nigh straightforward manner to insert a text box to a document, but it's still piece of cake to use and allows yous to manipulate text boxes throughout the file.
With the drawing tool, yous tin can upload the cartoon equally an image to Google Bulldoze and add it to your document. You can also add together various shapes, line styles, callouts, and arrows. Information technology opens a dialog box in your document where you'll create, edit, and format the shapes and text boxes using the drawing tool's commands.
To insert a text box using the cartoon tool:
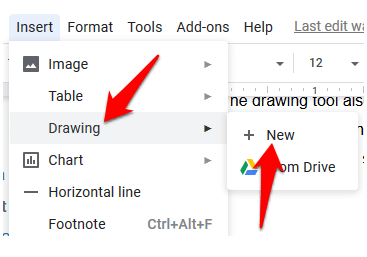
- Open your document and click Insert > Drawing and then click New to create a text box.
- Click the Text box icon.
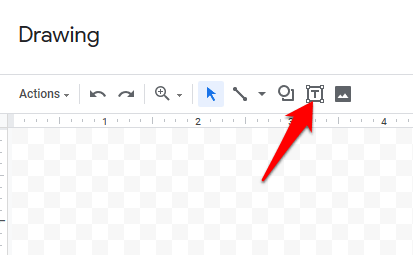
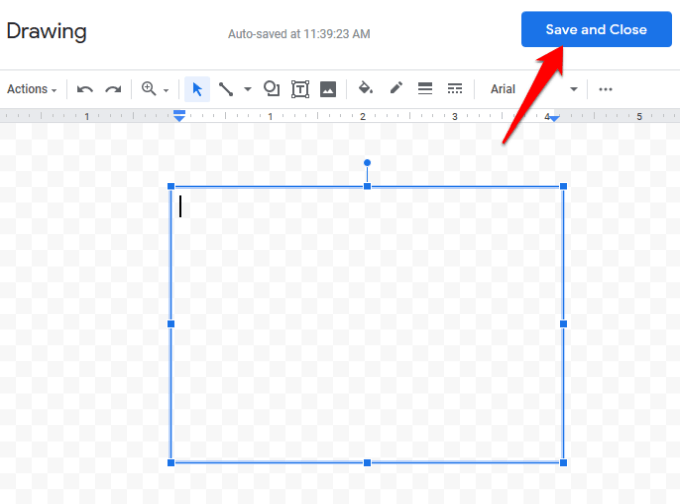
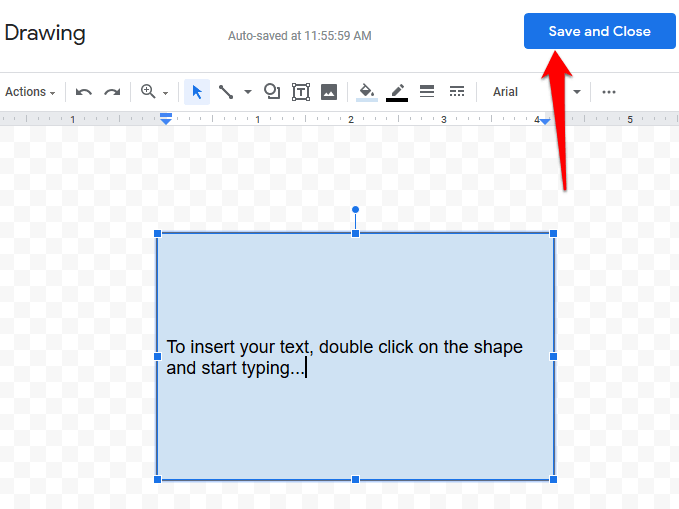
- Create the text box past clicking and dragging in the cartoon area, and so release the mouse for the text box to appear. Add together text and customize the text box to your liking, and when yous're washed, click the blue Save & Close push at the top right side of the cartoon surface area.
How To Apply Shapes To Create And Insert A Text Box In Google Docs
You can add diverse shapes to your document such equally rectangles, squares, callouts, flowchart shapes and more. Google Docs lets y'all add text in dissimilar shapes equally you would with a text box, and customize them by adding background colors or changing the edge line width.
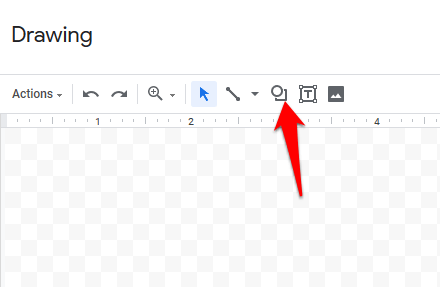
- Click Insert > Drawing > New and and then click the Shapes control.
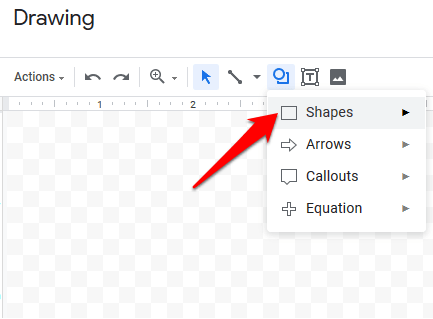
- Click Shapes to select the desired shape y'all desire to use.
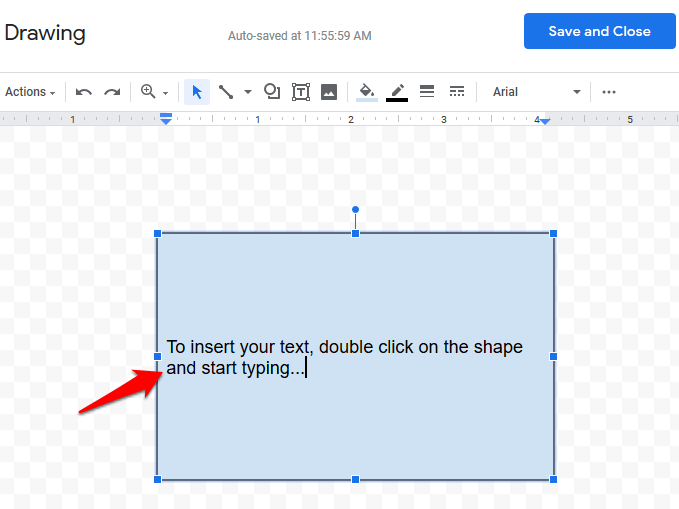
- Click and drag your mouse in the cartoon surface area to create the shape you selected, and then release the mouse. To add together text in the shape, double-click anywhere inside the shape, and so enter your text.
- You can add more shapes, lines, arrows, callouts, or even equation symbols to the drawing expanse. Once you're done with the drawing, click Save & Close to insert it into the document. Y'all can likewise resize the shape past clicking and dragging the resizing handle to the size you want.
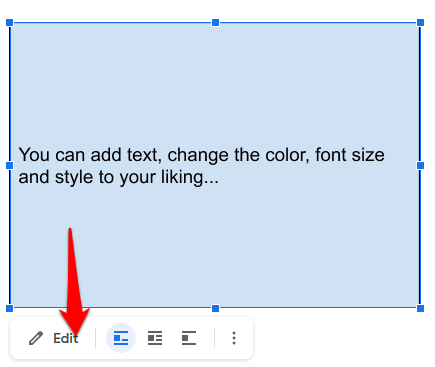
- To edit the shape, select it and and then click Edit from the options that announced. Yous can also delete a shape, by pressing the Delete or Backspace fundamental on your keyboard.
You tin also customize the shape by clicking the desired formatting command like colour, adding an prototype, calculation lines and more.
For shapes that overlap one another, you can reposition them to Bring forward or Send backward and get the desired ordering. To reposition the text boxes or shapes, right-click the text box or shape in the Drawing dialog box, hover your mouse over Order and click to select an ordering option.
How To Insert a Text Box In Google Docs Using a Single Cell Table
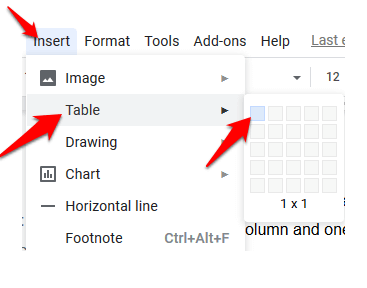
You can insert and edit a text box in Google Docs using a unmarried prison cell table with one column and one row. To practise this, click Insert > Tabular array and so click on a single cell with one row and ane column (1×i).
The single cell volition appear on the certificate. You tin can suit the length and width of the text box to the desired size, and so enter your text in the prison cell.

You tin can arrange the font color, fashion, and size to your liking if you want to highlight the text or make the document wait more than professional.
How To Insert Images Into a Text Box Or Shape In Google Docs
Y'all can customize your text box or shape in Google Docs by calculation an image, or if you lot want, you can overlay the image with text.
To insert an image into your text box or shape:
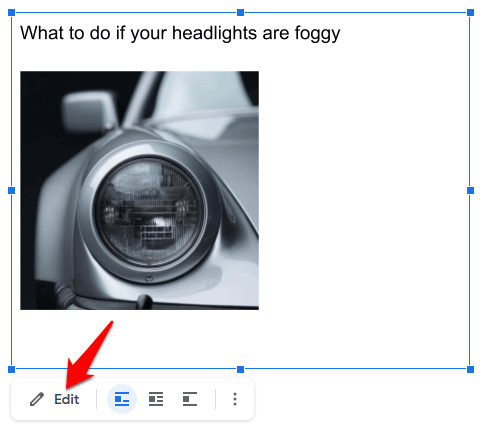
- Click on the text box or shape, and then click Edit to open the Drawing tool.

- Click the Image icon on the menu.
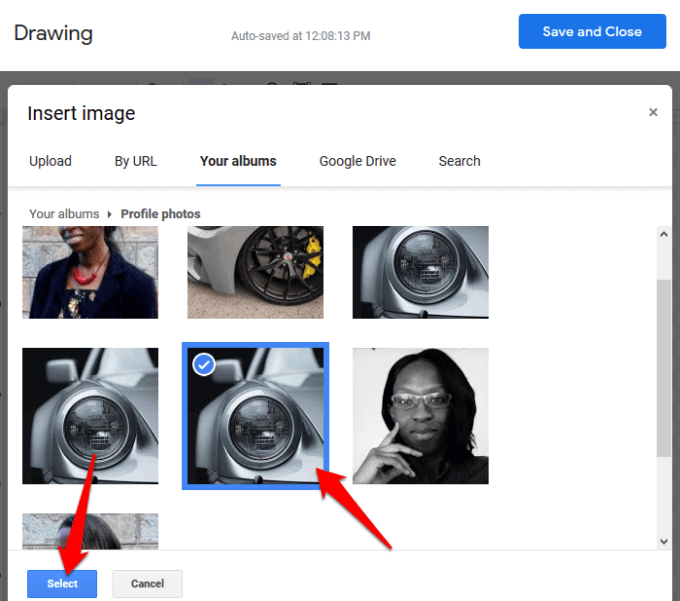
- Insert an prototype by uploading it from your computer, or you tin add together from a URL, your albums, Google Drive, or search for it from Google search. Click Select to insert the image.
- To layer text on peak of the prototype or shape, y'all'll need to use a text box. Click on the text box you created, and select Edit from the menu beneath to go dorsum to the drawing area.
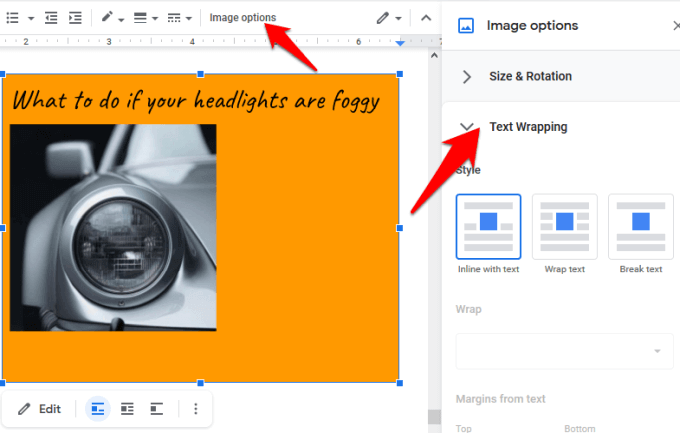
- Click the Text box icon to select it, and then change the fill color to prepare the transparency for the text box. Press Relieve and Close to insert the text box into your image.
- Click on the image again, select Image Options from the top menu and select Wrap text from the right pane.
- Layer the image and text box past dragging them to the desired position.
To motion an image in Google Docs, click on the image and change the manner to Wrap Text. Move the image into place using the scroll arrows on your keyboard. If you want to move the prototype in smaller increments, hold the Shift key downwardly and use the scroll arrows to move.
Were you able to create and insert a text box in Google Docs using the steps to a higher place? Share with u.s.a. in the comments.
Exercise not share my Personal Information.
Source: https://www.online-tech-tips.com/google-softwaretips/4-ways-to-insert-a-text-box-in-google-docs/